This past month, Mike with our sewing guild at
Tandy's Leather covered sewing with a sewing awl. You can pick these up either at their shop on Capital for $10-20 or online. They just expanded to a new location

and the manager Aubrin is incredibly nice and funny. If you're looking to get your feet wet or do a weekend project. They serve most of the local boy and girl scouts troops in the area. The best time to visit is normally a Sat as they often have beginner classes.
Now this week, I'm covering how to repair basic heavy canvas and leather. Sewing awls have a variety of uses, this tool is common to most marine and leather shops (I like the leather shops sewing aw

ls as they seem to be better stocked.). They normally feature a wooden handle, loaded spool of thread which can be interchanged for various colors, and a sewing awl tip.
Alright, to start, you will need:
Your project to be repaired
a sewing awl
matching thread to repair the rip
neoprene glue if you need to be water proof your project
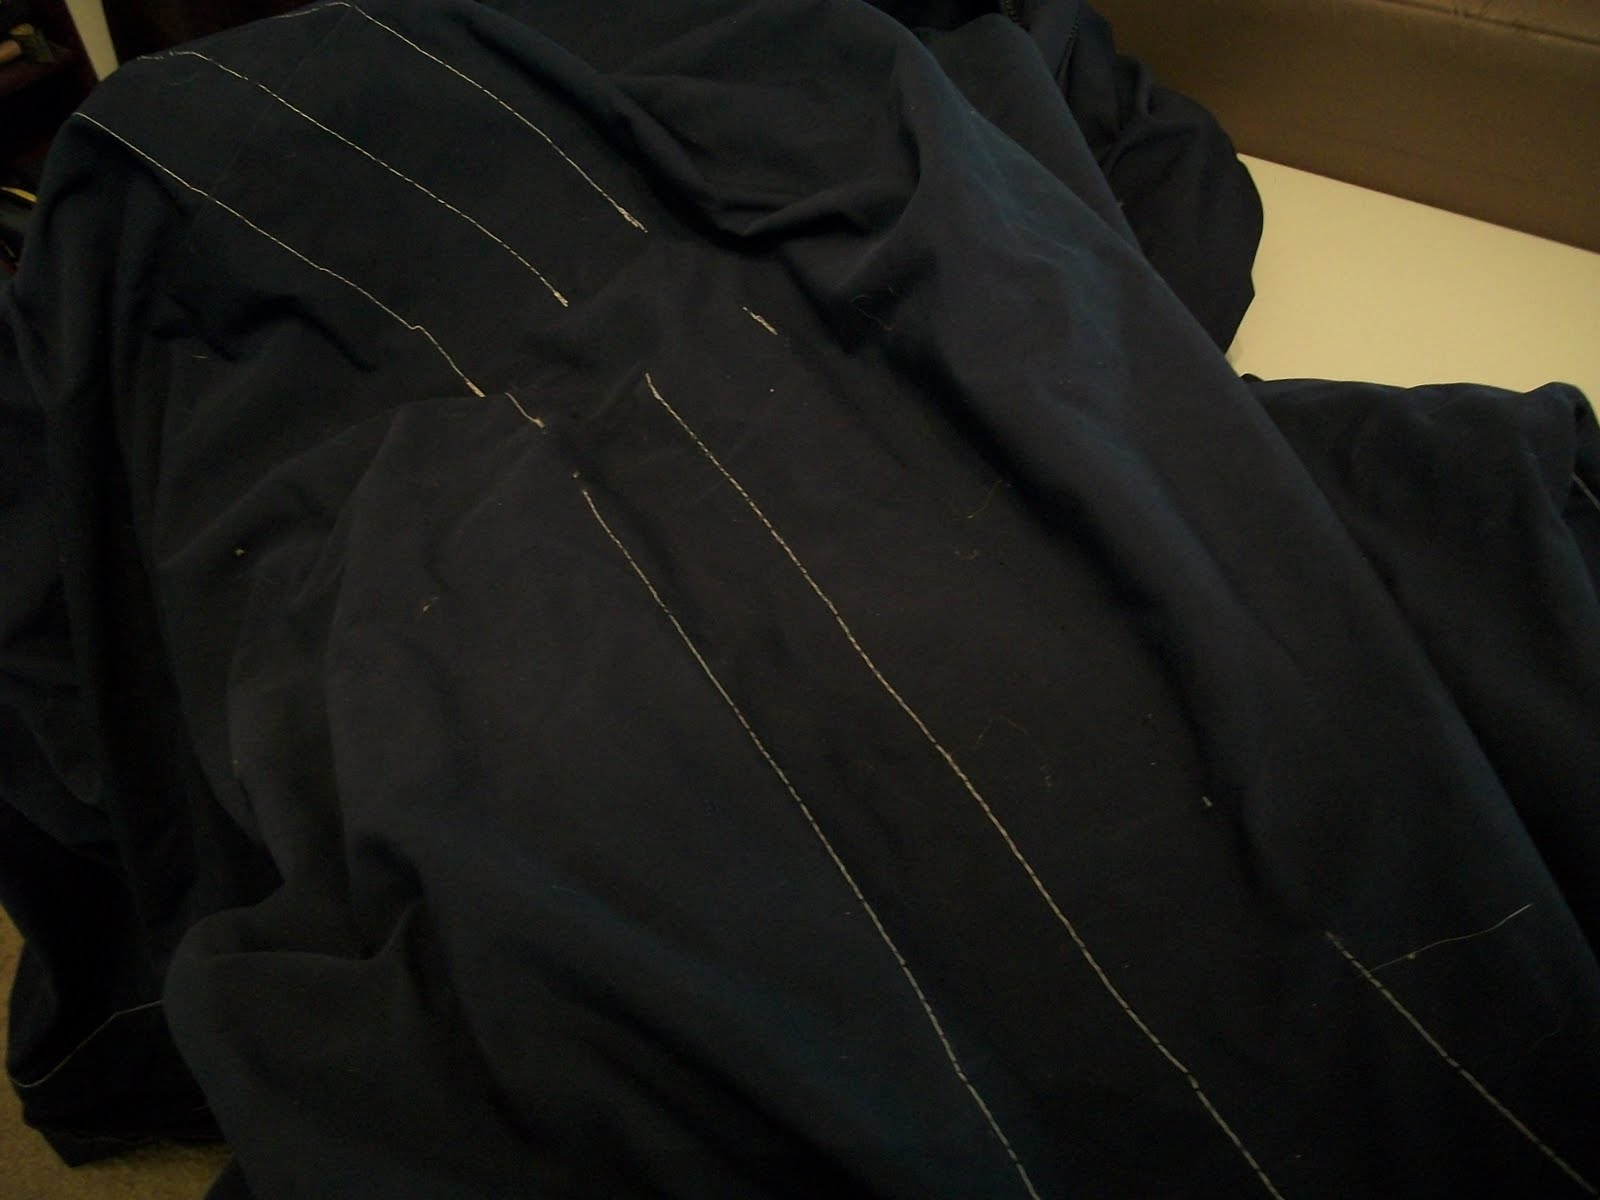
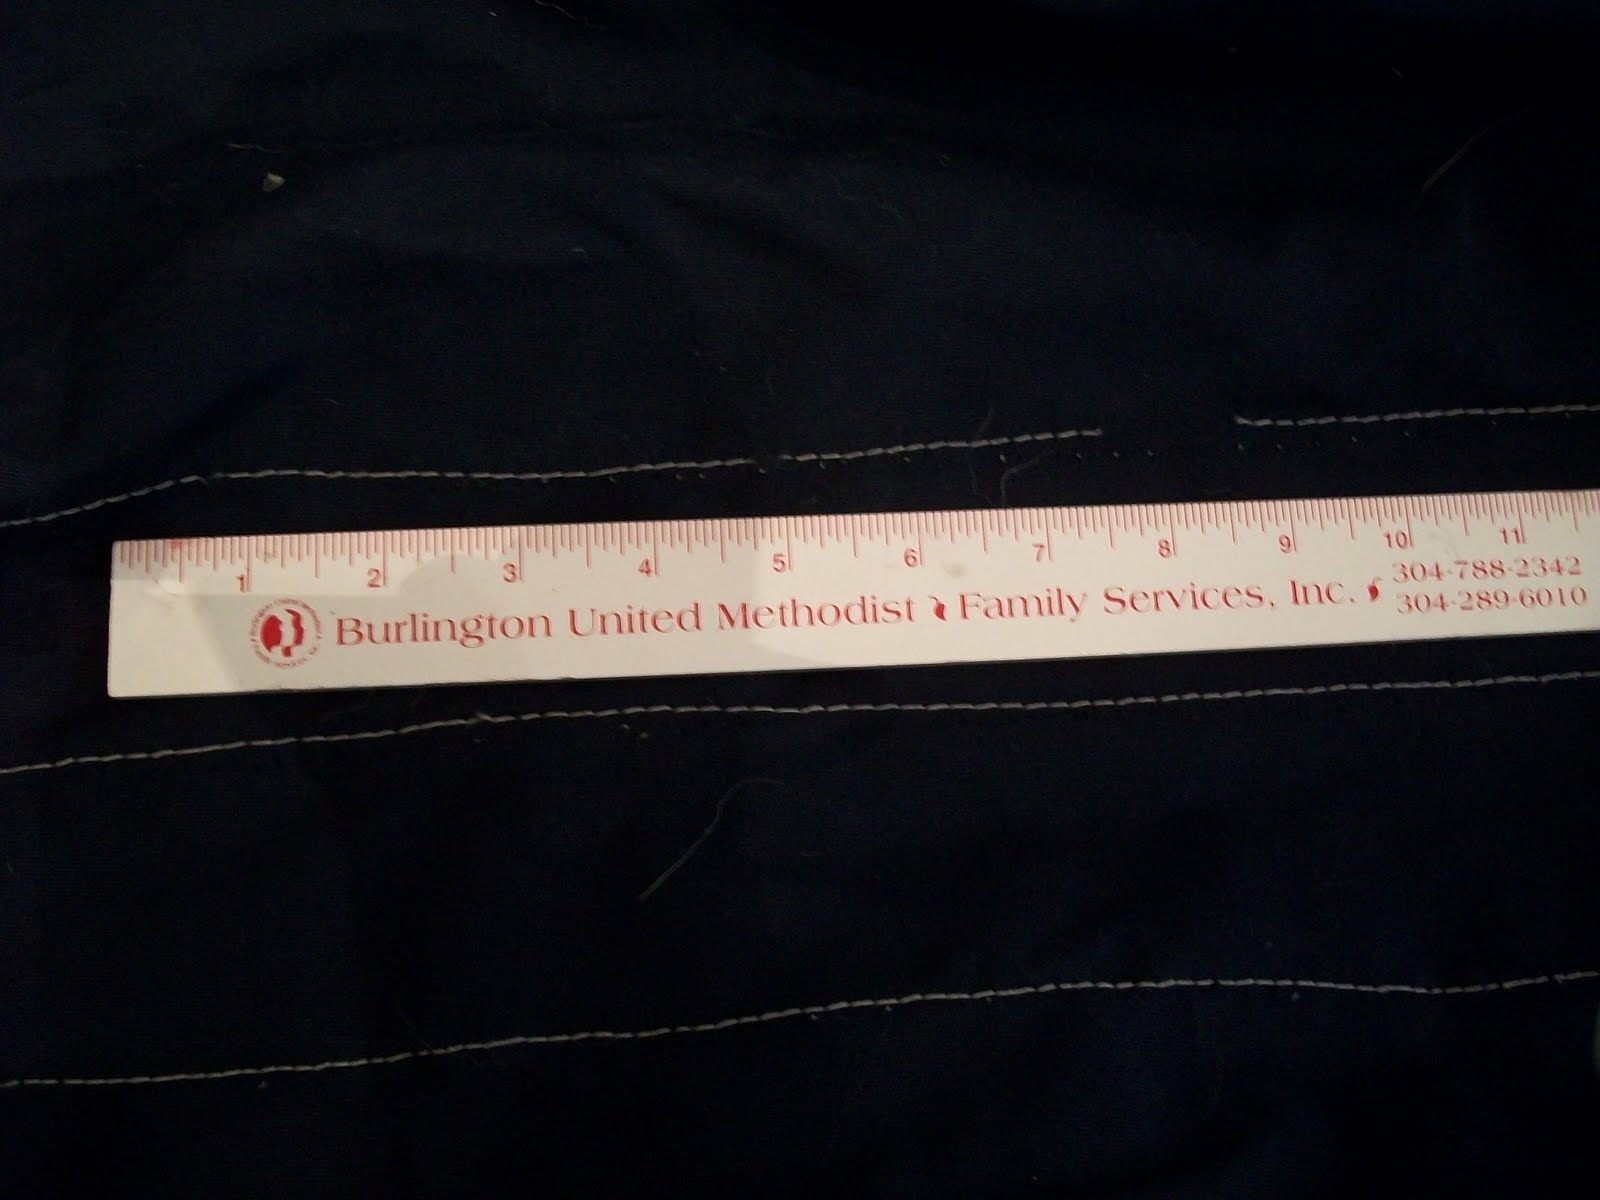
1. Lay-out your project to be repaired. Remove any lingering stitches  and mark the area to be stitched back together.
 You can mark the area with tailor's chalk to define your work area. Generally you can figure one hour of work per foot of hand-stitching. Some people may be faster or slightly slower and you will get significant

ly faster as you do more, but this is considered the average. Most people can work comfortably at 4 hrs. for stretch. If you have a long area to sew up, you can break it into sections or do it over several evenings. Looking at the project before you start will give you a good idea of the time investment required.
 2. Take the sewing awl out and switch our the thread to the appropriate color to sew your project.
 If you can't get the exact color match, you can often come close or dye it. Be aware that most nylon thread is waxed and may not take dye well. Remove the screw, pop in the matching spool color, thread the needle, and pull about 6 inches of thread through the sewing awl at the end.
3. Line up the line you want to sew and pierce the sewing awl through the first  hole.
hole. If the original holes are there this is fairly easy, if this is a new place (a rip halfway down), you can hammer holes with an awl and hammer on a basic flat surface if your sewing awl will not pierce through easily. You will need to overlap 3 stitches with the original thread if you are beginning at the middle to provide enough strength, otherwise, I am starting at the beginning edge so that it is easier to see. The photos shown are for a left-handed person. Flip the directions for a right-handed person.
4. Pull the thread through the hole. You can use the small metal hook to help catch the thread and pull it through easier. This will create a tail.


The tail will form the under stitch of the lock stitch which will hold your repair in place. While in theory you can create a tail the length of your project plus 6 inches for the end, in practice, it's difficult to handle thread over 3 ft. in length. It's ok to break up your project if it's longer in length. It will go both faster and less tiring.
 5. Holding the tail of the thread, pull the sewing awl back while holding the tail of the thread. 6. Move forward to the next whole and again pierce the sewing awl through your
  second stitch hole.
 Flip the project over and look at the bottom for the first stitch. The first lock stitch is the hardest, after a few stitches you get a rhythm going.
7. Holding the awl with your sewing hand, take the tail you made on the last stitch and pull it through the close side of the awl, this creates what is called a left-handed or right-handed twist with your sewing stitches.

You will be using your dominant hand to pierce with the awl and your non-dominant hand will be feeding the thread. A right-handed person with have a left-handed twist and a left-handed person will have a right-handed twist. It's the same thing, it just varies according to the direction YOU personally sew in. You are seeing my right hand here because I am left-handed.
8. Pull the awl back through the hole. Voila, your first  stitch.
 The stitch should be flat and smooth to the touch. Run it through your fingers. It's ok if it's not perfect, the first few stitches will often be uneven.
9. Begin speed stitching. Repeat the stitches until you get to  the end of your repair or thread.
 This next part may take you a stitch or two to get, but it speeds up quickly. Place the sewing awl in your dominant hand and hold the thread tail underneath in

your non-dominant hand. Keep some thread spooled out so you can see which side loop your bottom forms. Hold the awl parallel to the marked line of stitches. You should have giant loop.
Pierce awl through the fabric. With your non-dominant

beneath, slip your finger through the back loop and enlarge it so your finger rests comfortably through the loop.

Take your thumb and push the long tail of extra thread through the hole you have just formed.
Once it's through a little, pull the tail thread completely

through the loop you have formed. Pull the awl back through to complete the stitch.

If you fed it through correctly, the stitch will look like this. If you accidentally feed your tail thread through the bottom loop, it will look like this when you pull it out. Simply pierce the awl back through, pull out the loop you just made, and thread it through the other side. No need to panic.

Pull the thread on both sides tight. You will need to check every few stitches to make sure that the tension is even.
You will need to stop and start a new piece of thread when you get down to roughly 6 inches of tail.
10. When you get to the end, there are two  ways to finish off.
 The simpler way is often used if the bottom is not going to be visible. This is preferred method experienced craftsmen and craftswomen use, when you go to make the last stitch instead of pulling the awl back through and completing the lock stitch, pull roughly 6 inches out of thread

from the sewing awl and cut it. You will have two threads on the bottom. Tie them in a square knot and pull tight. Voila you're done sewing.
The other method is used if both sides will be seen. Sew as you normally would to the end, then reverse your last 2-3 stitches (I prefer 3, others say 2). Trim the

ends off closely. Both methods are considered standard, which one you pick will be up to you.
11. Repeat until the entire project is repaired.12. Decide if you need to seal the patch. While a number of people stop at this point, you may sometimes need to seal the line of stitches you have created to prevent rain from leaking through (ie- jeep tops, convertibles, or Bimini tops on a boat). You can either purchase a repair patch from a marine store or use neoprene glue (industrial/superglue) to seal it. Barge is a personal favorite, you can purchase it for a $2-3 off
Amazon or you can pick up rubber cement at most hardware stores . If you decide to seal the repairs, take the glue and either put it down in a strip on the underside and press it together or if you are using a large amount, paint it on with a paint brush. Allow to dry 24 hrs and you are good as new.
 13. You're done, step back and take look at your handywork.
 All done til your next weekend project. The cover in this project is my dad's Bimini top for his boat, but the method is the same for any soft top canvas you can't sew through on a normal sewing machine.
 This past weekend was gorgeous. I had a lot of fun Saturday with Nash at the Hand-to-Hand Craft Show in Greensboro at the Green Bean Coffeehous
 e. We dropped by on the way to see a play in Hickory. One of my Charlotte Crowntown Guild Members was there, Verabelle, who does great applique. You can see some of her displays in the photos here. She does great work in Charlotte. Nash amused himself taking pictures while I roamed around talking shop and having fun.
 al living this week. It was interesting because there's a lot of people at different points in th
 e scale. The best advice to me was from an older couple who have done almost all the different circuits, juried shows, you name it.
 the tab
 le advocated spending your time at the smaller shows these days if you want to make a living vs. plopping down big bucks to spend time at the larger juried shows.