Friday, February 25, 2011

Make-your-own-table-cover 9ft. Sewing/Ironing

Alright, wedsday you were left with a bunch of cut pieces...now to assemble.

When sewing a tablecloth, I normally sew the top together (if I need too for short bolts), then sew the individual side pieces together, the sew the sides together, hem the bottom, and lastly....sew the top on. Some people sew the hem last, but I find that it's easier to do before I sew the top on as weight is a big consideration when sewing drapery or upholstery projects together. Also, all seams are 3 thread stitched for strength unless otherwise stated. You can do this with a combo stitch if you have an embroidery stitch, standard you have a serger, or if you only have a straight stitch machine, sew the same line 3 times.

1. Sew the top together. You do not need to do this if your bolt was wide enough to cut in one piece. I normally pin the two halves together. Remember to use a reinforced stitch to sew. Drapery fabric is heavy. I used the basic 12 stitch on the Janome, but you can use something else.

I did a black thread on white fabric sample for you to see the stitch better. This is a combination straight stitch and zigzag stitch for durability in multiple directions. It's also good for sewing fabric that is going to have a lot of wear and tear.

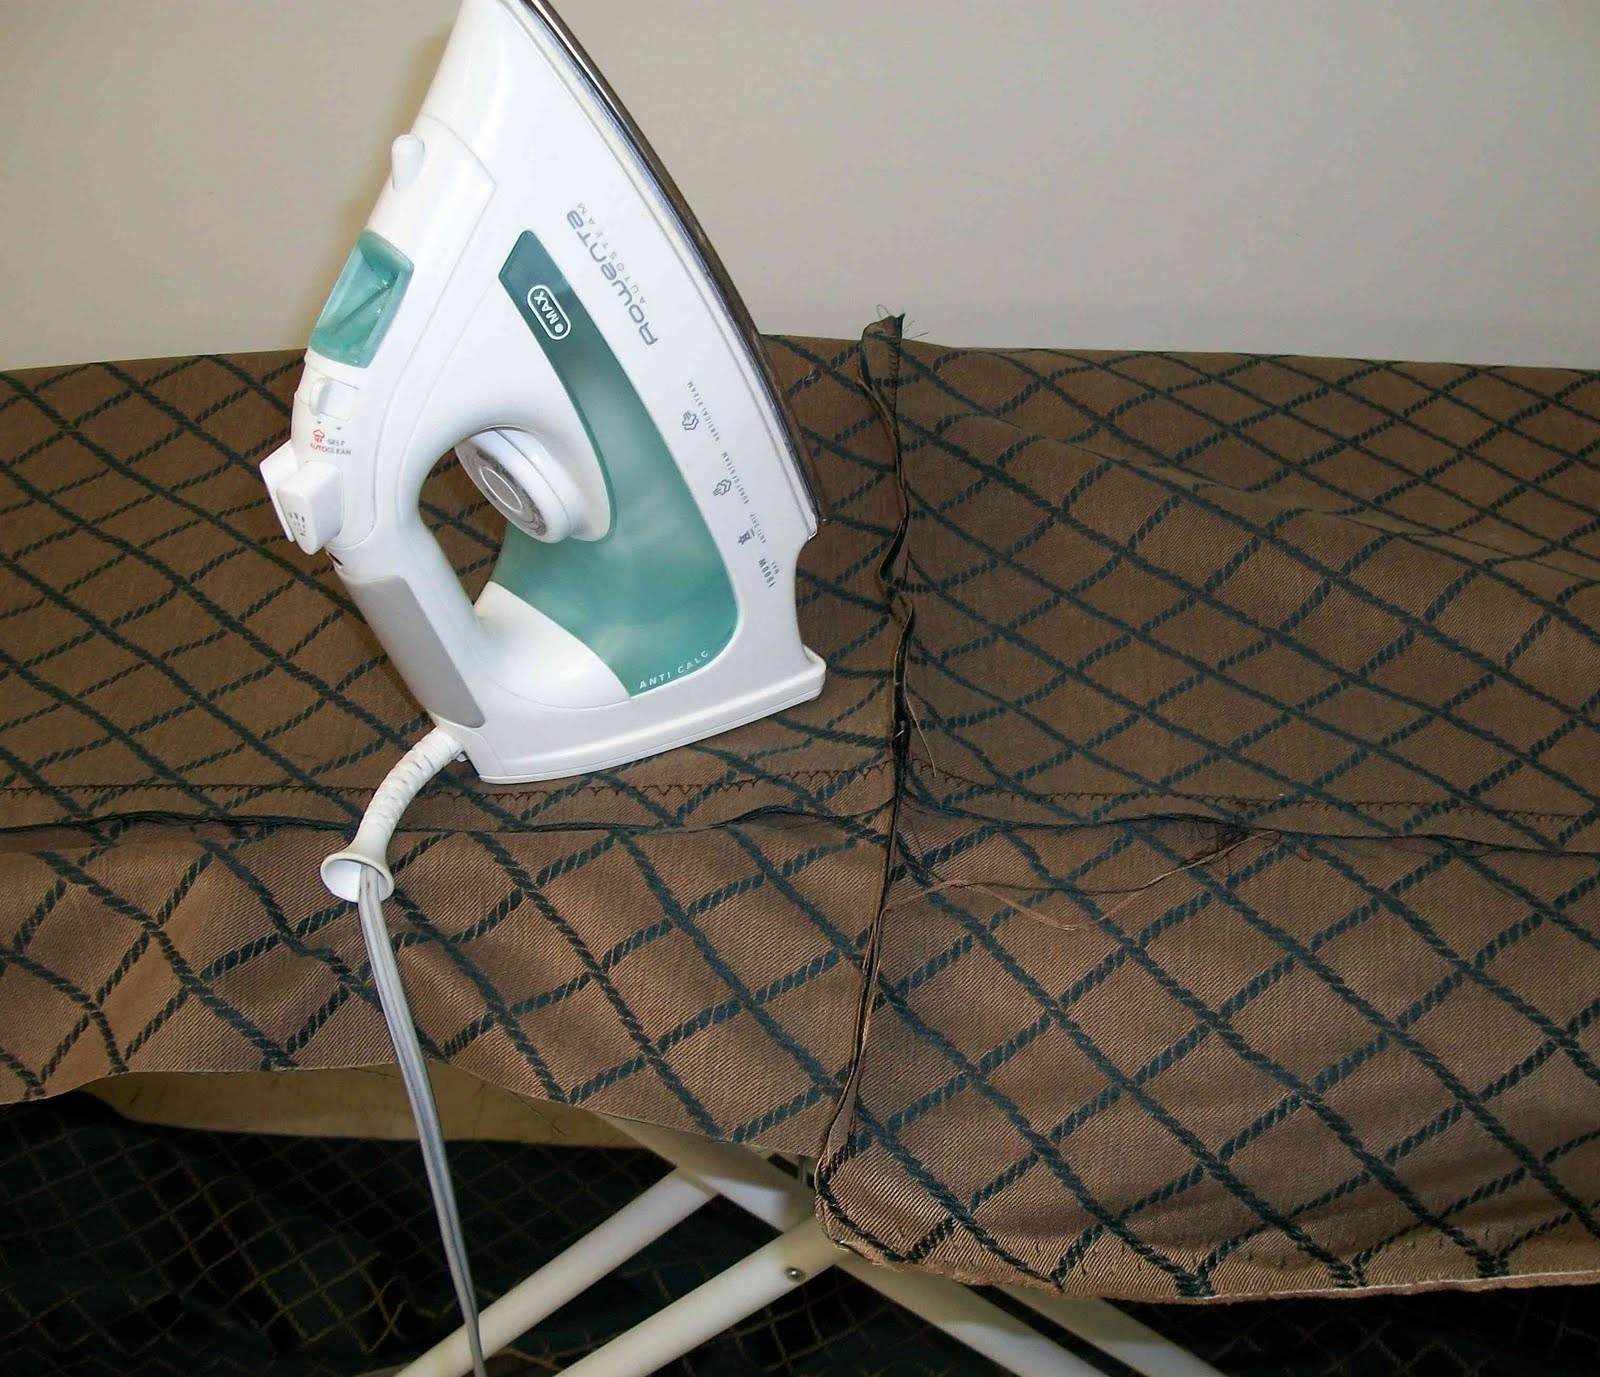
2. Iron your top flat. First, remove the T-pins you put in. Next, heat up your iron to the appropriate setting. I normally use a higher setting with lots of steam for upholstery fabric. It seems to need a little extra. Some people skip ironing, but it's the difference between so-so finished product and AMAZING. On the top, you are going to iron the fold open so that you can see both halves. After you are done, flip the piece and iron the other side on the reverse.

Viola, nice shiny flat piece. Set the top piece to the side. You will come back to it later.

3. Assemble the sides. You are going to do the same step 4 times. With each side, pin the matching hem piece to it (short to short and long to long) and sew together. I normally place the smaller piece on top as it makes it easier to sew.

4. Iron the sides flat. This time you will iron toward the hem. Hems are always ironed so that when completed, they naturally fall with gravity. If ever in doubt as to which way to steam a hem, you can hold up the piece of fabric in the direction it will fall when completed and this will give you a good way to literally see the fabric pull in one direction or another. Flat seams at the top or bottom get ironed flat.

5. Pin the sides together. Now comes one of two tricky parts. You have all these lovely sides with lines running through them, but they may or may not match exactly. Match the lines in your fabric together, this means the top and bottom may not match exactly. AND THAT'S OK. You added a couple extra inches to give yourself wiggle room in the pattern at the beginning. Don't sweat it. We will handle those irregularities in a sec.

Carefully, pin each short side to each matching long side. You should have a giant slinky at the end.

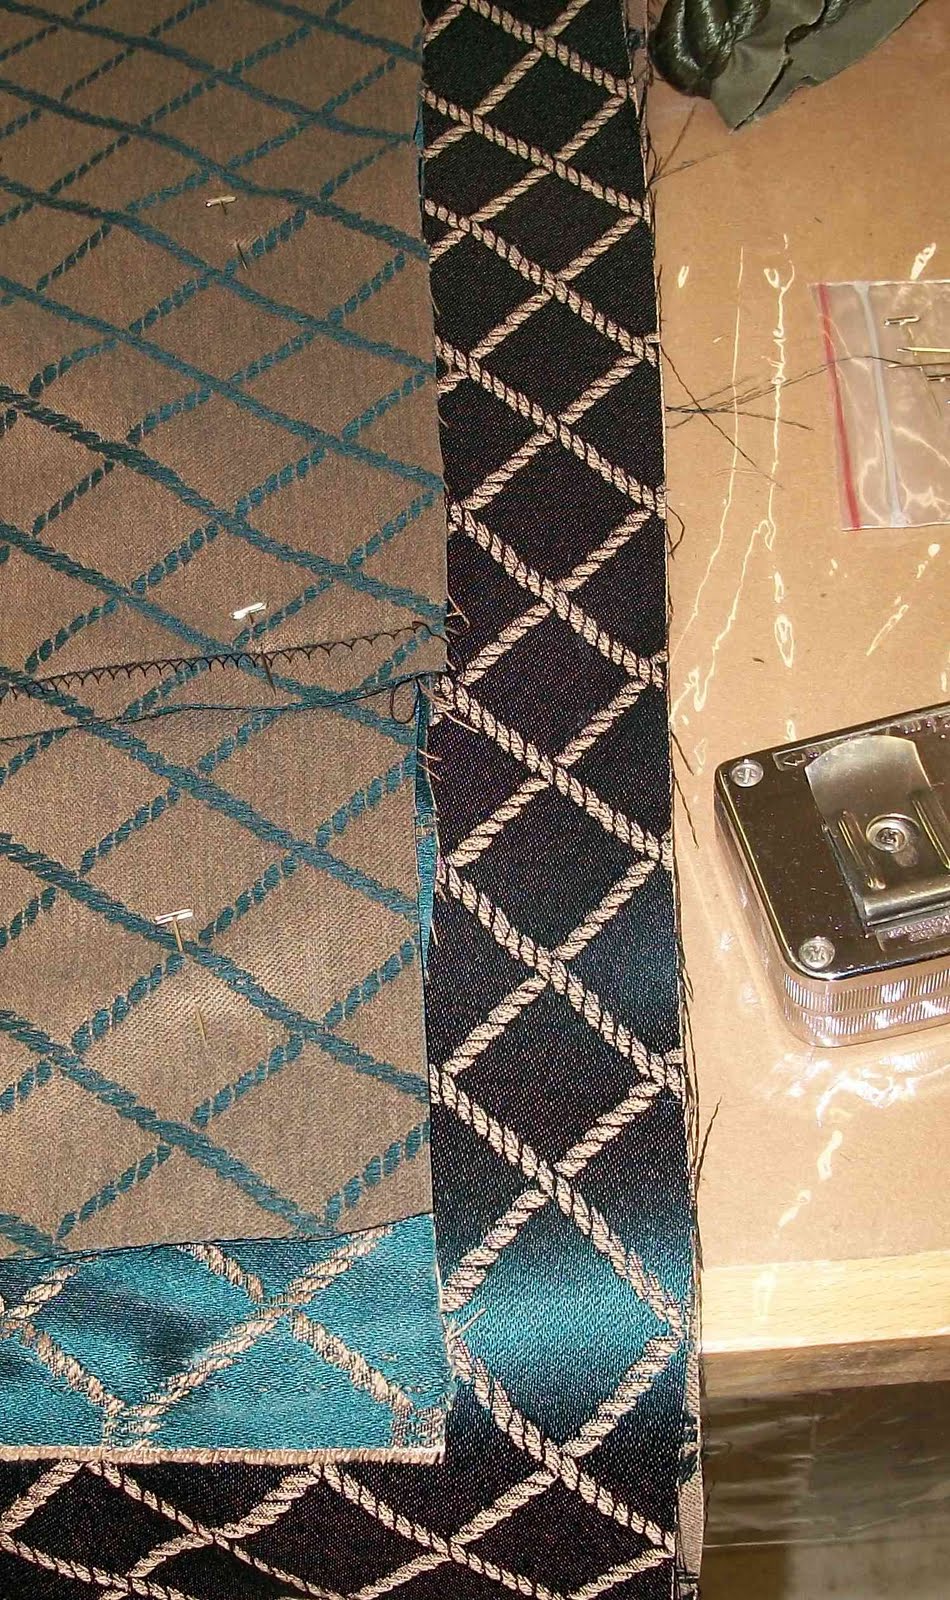
6. Sew the 4 sides together. I normally hold the point where the lines come together in my feeding hand to make sure everything lines up properly. As you can see from the photo, mine didn't line up exactly at each end. The important part was I got the hem lines even.

7. Iron that baby flat. Each side seam will be ironed flat. Remember to flip it and iron both sides flat. This is a really good point to stop and double-check your work. The lines should meet up as close to perfect as possible. This is the line people will see running around the table when they look at it and it's important for it to be even and uniform.

Stop and take a break at this point. You've probably been sewing or cutting for a bit.


8. Ch
eck your edges. Remember back when I said not to worry if the top and bottom of your sides didn't match exactly because we would deal with them later? Well, this point is later. Lay the sides flat on a table at the side seams so you can see if they match up. Grab your scissors and starting with one side, cut the longer side even with the shorter side, tapering it off.

Slowly, going around...do each side. Then when you've done one side, flip the piece and double-check the other side. Sometimes you can miss one side or the other when doing this.

When you are done, both sides should look smooth like this. You are now ready to add the hem.

9. Add the hem. What to do with the hem? That's always a question. I was going to originally do this fab corded edge, but the client wasn't too thrilled about it so after consultation, I settled on a basic turned-hem at the bottom. It worked well and they were pleased. Simply fold twice and stitch around with straight stitch.

If you have fun attachments, you can do all cool kinds of things, but for most people....zip zip.

10. Attaching the top. Last piece whew...pin each corner of the top to the corner of the sides, then work your way pinning across. You may have to ease some into each side if you're off an inch or two here or there, but overall it should be good. The whole thing looks monstrous when you are done. If it looks like a giant slug and keeps falling off the sides of your cutting table, you've probably done it right.

11. Sewing the top to the sides. This part should be familar. Go around sewing the top to the sides, take particular care in the corners to pivot the foot.

12. Iron flat. Alright, you're done. Throw over pool table, step back to admire your work and all good.

Until next week, have a great weekend everyone.

Wednesday, February 23, 2011

Make-your-own-table-cover 9ft. Measuring/Cutting

First, pool is awesome. I love playing it. Today, you are going to learn how to make your own custom pool table to protect your felt from kitties, dust, wild house guests, and other threats. This project can be done in 4-5 hrs. on a home sewing unit.

You will need:

Basic Home Sewing Machine
9 yards fabric standard 54 inch width or greater
scissors
measuring tape
thread
pins
chalk
space to cut fabric

1. Measure your pool table (I have included standard 9 ft. measurements, but check your own).

Standard 9ft. Table Your Table

Length: 114 inches ________
Width: 64 inches ________
Height: 36 inches ________

2. Select Fabric/Trim you want. You can use swatches to match or get ideas.

3. Figure out the actual prototype (add 3 inches to the total on each side and a 16 inch drop)

Standard 9 ft. Table Your Table

Length: 117 inches ________
Width: 67 inches ________
Drop: 19 inches ________

4. Draw out the prototype and figure out the pieces, you should have 5 different pieces total. If you don't want the extra hem at the bottom for only 3 different pieces, combine the sides and hems together and subtract one inch total. This will not look as good, but it will be less work.


5 Pieces Standard Standard 9 ft. Table Your Table

1. Top: 117 inches by 67 inches ___________________
2. Long Side (2x): 117 inches by 15 inches ____________
3. Short Side (2x): 67 inches by 15 inches ____________
4. Long Hem (2x): 117 inches by 5 inches ____________
5. Short Hem (2x): 67 inches by 5 inches ____________

3 Pieces Easy

1. Top: 117 inches by 67 inches ___________________
2. Long Side (2x) 117 inches by 19 inches ____________
3. Short Side (2x) 67 inches by 19 inches ____________

5. Measure your cloth and begin cutting. I normally just roll out a bolt of cloth, grab a tape measure and chalk and go at this point. But, a little pre-thought is helpful. For example, you may need to cut the top in half if your fabric is not wide enough to handle your table width (I did).

I cut the biggest pieces first, then the smaller pieces. Measure the length, mark it with chalk or a pin Then cut across. You can then measure the widths from matching pieces across. For example, I did 1/2 a table top, then the long side, then hem twice. It's an old rule, but measure twice...cut once.

For example, I cut half the top, then one of the long sides, then the hem was automatically left. This doesn't always work out, but it's an example of a little thought saving you an extra step along the way. The short sides and hem I cut in one section. There's no right or wrong way to do this. Your fabric width will dictate how many pieces you can fit on a section. Just remember if you have a pattern on the fabric, you probably want to cut all your fabric the same way. Once you have a single piece cut out, you do not need to remeasure for the next piece. Simply lay it on top of your fabric, put a couple of pins in to hold it in place and use the piece as master. You're only making 2 of each piece so there's not a lot repetition.

Lay out your pieces in separate piles as you go neatly folded up. That way you can keep them apart (especially the sides). This makes it simple when you get to the next part, sewing it all together. If the pieces look very similar, I will sometimes label them by sticking a piece of paper on them with a letter or number to keep them apart. They often do this on large factory floors to help people keep the parts in order, especially large jobs, but it works just as well for home sewing as well.

Friday, February 18, 2011

Custom Pool Table Cover


This month I'm showing some of the custom work Li Sashay does, this is a custom decorating job we did for a pool table for a friend. They wanted something to protect their pool table felt from their cat without being so long that it hid everything under it. Also, the fabric used was stain resistant to help protect from spills or party mishaps. A sweet 9 ft. table. Tables are a great project to flex your sewing muscles on as they are straight forward and can be done on even a simple machine. I prefer lined versions as they look cleaner and hold up longer, but unlined are common because the cost of fabric adds up quickly. The results are definitely worth it regardless. It's a great Saturday project to add elegance and class to any rec room.

If you're interested in making your own, check out our how-to-sewing tutorial.

Wednesday, February 16, 2011

Bag Prototyping and Design

The sun is finally warming up and the rain and snow of last week are disappearing. It's been in the 60s several days this week, which feels like spring for a change. I've had a fair number of design prototype submissions work, and several clients agreed to let me show you their work. One of my favorite submissions was a set of 4 different bag designs for a company out of Durham for the light kindle.

I had a yard and a half of each of two color fabrics and 1 day to design it. The selection was a french toile and soft black lining. After looking up the dimensions, I created a block pattern and cut up my pieces. You can see the resulting pieces. Didn't look like much at that point. Thankfully, as one of my old instructors told me, fabric is about the magic of creating a 3D creation out of a 2D design. There's a lot of truth to that still although computers are changing the game. I often wonder if in another decade they will still have you create slopers and blockers to design stuff. Several hours later, you could see the final project.

Unfortunately, these did not make it out of the design cutting floor, we ended up going with another model as the handles were too long, but we landed the contract. Due to client confidentiality, I can't show you what we're working on now. I thought I would show these this week as an example of design submissions and how not everything is perfect, more a work in progress. And that's ok. I think too many designers expect drawing to be perfect right off the bat when instead, it takes several runs often to get things right. Problem shooting is important.

Well, let me run. I have more designs to do this week and hopefully the weather will hold to put up some of our own bag. Next, I am going to show you how to do a custom pool table cover I did with a friend over the weekend. I broke it down with how to instructions so you can do your own. You will need roughly 1 yard per foot of the pool table. For example an 8 ft table would take 8 yards, and a 9 ft. table would take 9 yards.

Monday, February 7, 2011

Valentines at Loco Lu's

Friday, we had fun updating our displays at Loco Lu's Coffeehouse for Valentine's Day. It's one of my favorite places to grab a cup of coffee or listen to some relaxing jazz music. There's also a variety of other events to go to: karaoke, knitting clubs, open mike. You name it. You can check them out here: http://locolu.com/home.html Click on the meetings section to see upcoming events.

For Valentines, we did several new additions. First, Nash did an awesome job hanging all the fixtures and Lu put in lighting so you can see everything more clearly. We also dropped in larger price signs and a biography. Overall it looked great. It's always fun to put in a little elbow grease and see the results blossom.

My favorite part was getting to add the gift of free gift wrap for anyone who purchased jewelry. I put up a little sign with directions on how to fold the furoshikis. It's a slimmed down version of the post on the blog last week, but keeps the important parts.

I had a lot of fun redesigning our furoshikis this past week, and it seemed only right to let you the customer benefit. Feel free to pick one up with your coffee or sandwich for Valentine's Day. And on that note, Happy Valentines Day!

Friday, February 4, 2011

Folding Furoshikis

This week I had fun redesigning one of our best sellers, the furoshiki. Last year these made the front page of etsy and after this past christmas season I wanted to give it a few upgrades and simplify the process to hopefully make this as easy as tying your shoes.
As a background furoshikis have been around since the 12th century, originally as a method of wrapping bridal gifts, they became common in the 18th century as an economical way of taking lunches to work and school. We have 4 basic sizes, x-small which is perfect for wrapping gift cards and small gifts such an earring card. Think credit card size and you have it. Small is jewelry sized for a standard ring/earring box; medium is for packed lunches (bentos) or a hard cover book; and large is big enough for an average shirt box. We have a variety of colors and each one is lined.
Alright to start wrapping your present, we have a small furoshiki for jewelry and earrings as a model.

1. First, put your jewelry in the box (see picture on right).

2. Next, place the furoshiki with the label facing you so you can read it. The bottom point should be facing your belly button (see picture on left).

3. Put the box squarely on top of the label.

4. Take the bottom corner and fold it towards the top. You can tuck the corner if it goes past the box (See picture on right).

5. Take the top corner and fold it down towards you. You tuck the corner under for smooth look.
At this point you should see your furoshiki looking like a burrito (See picture on left).

6. Alright, last part. Channel your five year old self, tying your shoes for the first time. Take the left and right sides, bring them to the top and tie a basic knot. If there's a lot of extra or you want to make super sure your little kid brother can't get in, make it a double-knot, but I normally find the friction involved will hold a single knot just fine (See picture on right).

7. Voila you're done.

Easy right? You can also reverse it if you prefer the other color side. Alright, well....that's our newly updated product for the week. Check back next week for new purse styles. You can check out our etsy shop for various looks and styles:


http://www.etsy.com/shop/lisashay