Yeah, it's time again for the annual Etsy Craft Party! A lot of you had a blast coming last year, we're rockin' it again. Roth is celebrating with $3 drinks (even the good stuff) and we're having a food truck come. Techshop RDU is also hosting so we are throwing out the red carpet! DELICIOUS fun! Based on the two big parties we threw last year, we decided our group prefers free wheeling and dealing with multiple tables set-up with projects for people to jump from one to the other and try or sample. Do what you want! A buffet of treats for the eyes and fingers. Please feel free to come hang out and bring a friend, we will have tons of supplies and projects to give away. You do not have to be a member to come. Children and families welcome.
You can sign-up
here on meet-up! Please, please, please, sign-up. The more people we have come, the more free stuff Michaels is sending....so the more the merrier! :-)
Right now, we have the following planned, if you have an idea you want to add or suggest, shoot me an e-mail at: dsmcginn1@lisashay.com. Creativity welcome. :-) At the moment, I have our projects divided up by area, more will be added at we get closer. :-) Some people may recognize some of the awesome projects from last year, if you missed doing something last year, now is your chance to do it this year. And try your hand at something new.
 Location (Forge)
:
Blacksmithing (Nash Page): Watch traditional metal armour being crafted. Nash is the blacksmith instructor at Techshop RDU and Dream Coach. He will be giving away several small projects as well as generally just having fun. You are welcome to hang out with him and watch the process.
Sand Metal Casting(Evan Daniels): One of the great instructors at Techshop, Evan is going to be hanging out with Nash demonstrating metal pouring techniques. If you are interested in casting in metal, please drop by. You are welcome to bring a piece you would like done before hand, flat shapes that can rendered in two dimensions work best. Please contact Evan if you have specific questions about what you want to bring.
 Location (Roth Brewing):
Wire Twisted Jewelry:
Location (Roth Brewing):
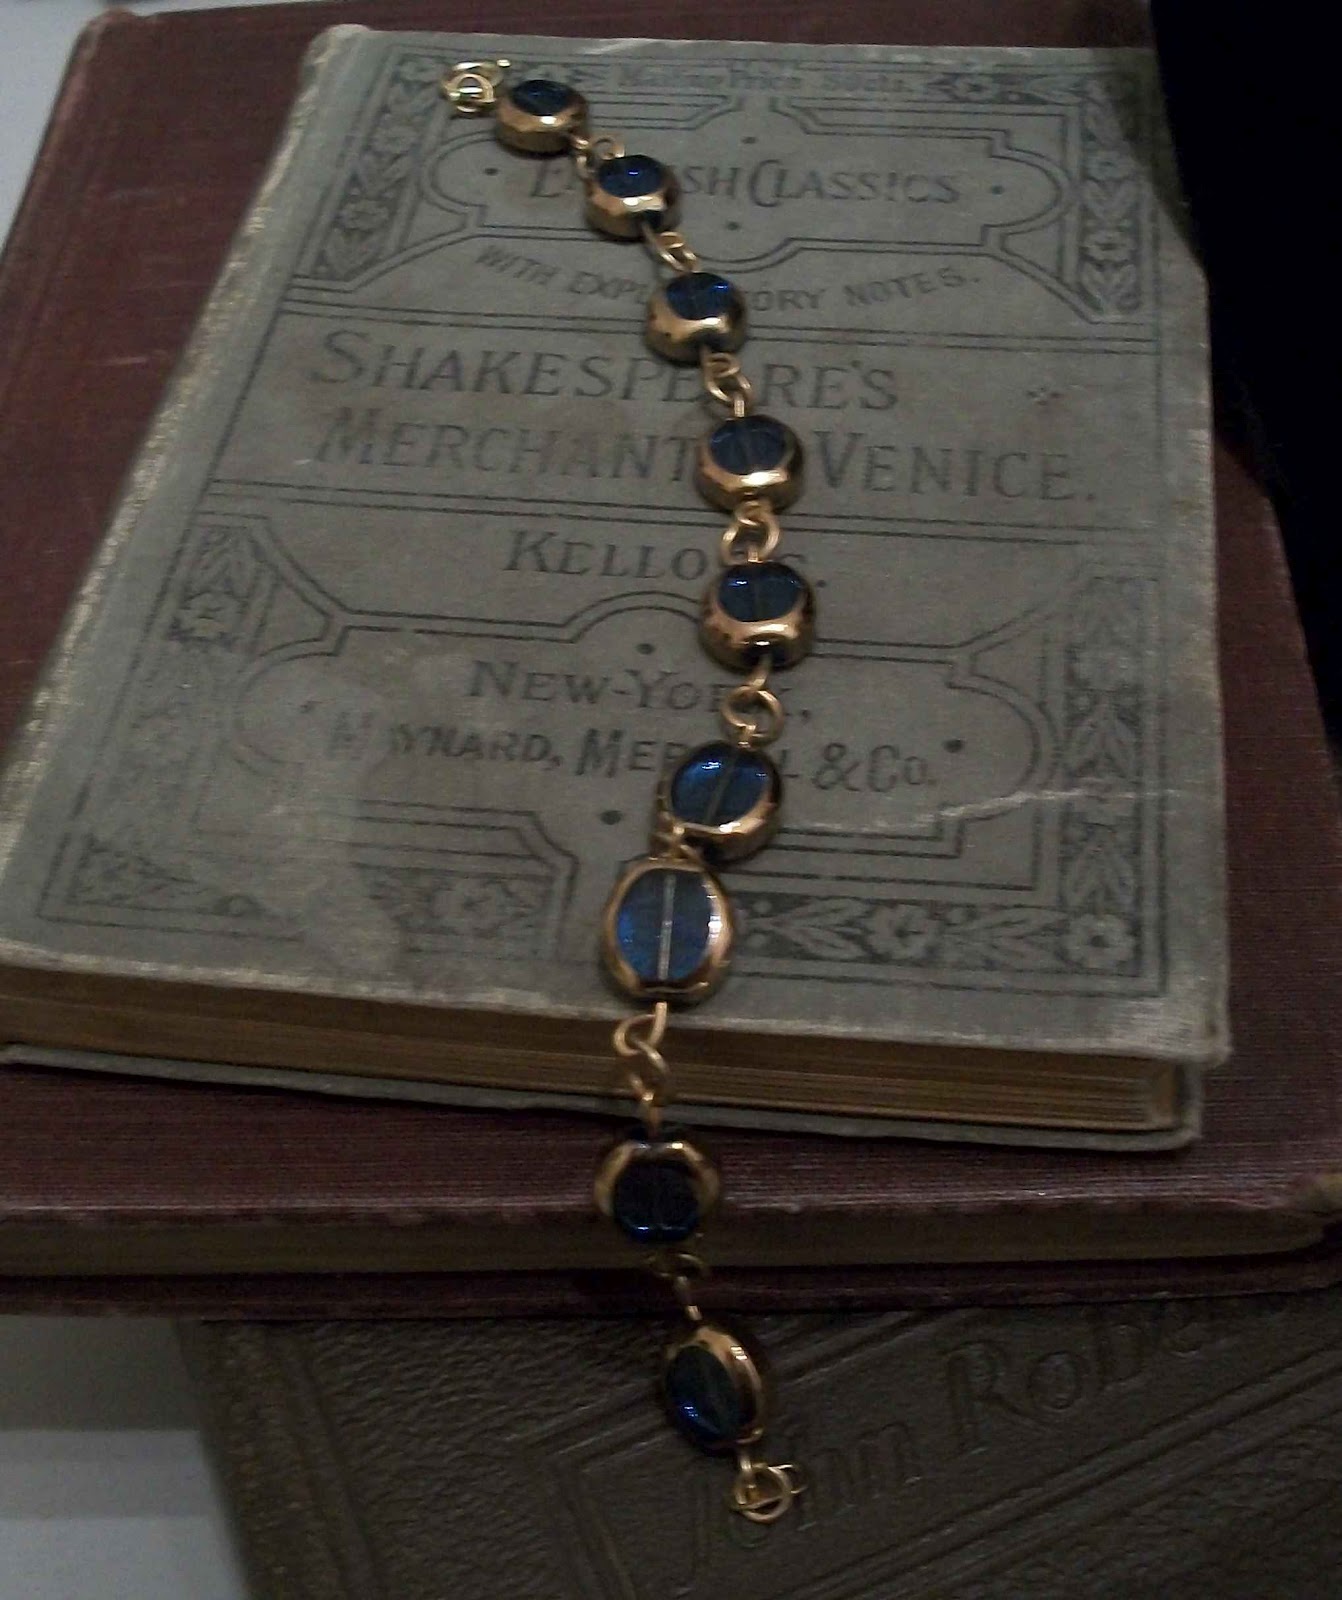
Wire Twisted Jewelry: Come try your hand in the bar with traditional wire twisting and bead-work. We will be inside at the bar making drop earrings and necklaces. Free free to try your hand at making a new look for back to school.
 Friendship Bracelets:
 Try your hand at this classic. Because somethings are too fun not to do.
 Leather and Wood Block Painting:
 From ancient times, the oldest paintings in many cultures are wood because of it's durability and beauty. Acrylic paints were designed to specifically speed up this process for WW II by making fast drying oil paints. Acrylic paints work wonderfully on leather and wood. Right now, you're seeing nail polish shoes on runways everywhere. This is a great way to make art your own. Come try your hand painting your own pair of shoes or the wood blocks we will have available for people to take home. A great way to breath life into well-loved shoes. Check-out these amazing shoes done by
Nicole. I love this trend right now.
Knitting Circle: Bring your current or new project to knit or crochet on comfy leather chairs. A great way to pass an evening in comfort with delicious beer. Yarn and tools will be available if you have never tried it before, this is a great time to start.
 Location (Techshop Kitchen):
Potato Stamps:
Location (Techshop Kitchen):
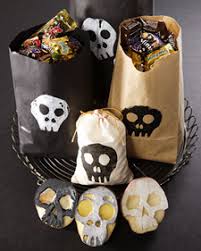
Potato Stamps: For those of us who like working with knives and paint, this project is for you. Many people don't realize that your kitchen is a great place to make quick and easy stamps with stuff you have lying around. Potatos make a great medium for custom stamps that can be done quickly and easily to create one of a kind cards and looks.
Martha Stewart loves doing this favorite for custom Halloween gift bags, I'm sure you can dream up your own creation.
 Custom Paper(Shannon):
 Microwaves are awesome if you like paper crafts, you can make your own design, dry it, and then apply potato stamps to the final product. Lacquer makes the entire look permanent. A great way to quickly design works of beauty.
Location (Techshop Conference Room):
Craft Swap: Bring a supply, take a supply. This is a great way to clean out space in your closet and look forward to starting a new project. We will have supplies available for people to take home and also keep any left-over supplies for future meetings. :-)
Apron Art (Dara): Where would the perfect project be without a fabulous apron to complete it? Make your own apron and decorate it with glitter, rhinestones, and other art. Now, you know you can dress for the occasion. Because art is fun!
Wood Carving: Try your hand at creating custom works of art in wood. You can do wood carving with a hot iron or knife. The results are unique creations.
More to Follow! Have a great day everyone and look forward to seeing you in a few weeks.
 After you finish doing the first mock-up or canvas, you have your first client fitting. This is important as especially with unusual body types, you will need more fittings. 3-5 fittings is typical for the industry. The most I have had to do is 12. Robyn required two canvas fittings here and she was pretty relaxed about the whole thing. You can see the first set in her hands. It generally takes 15-45 minutes for a fitting. Typically it takes me longer...I'm weird in that I like to make corrections on the fly and hand them back to the customer when drafting the master, but some clients DO NOT like to wait at all.
 The major advantage and reason people do this is how much better the finished look turns out. Most experienced patternmakers will bluntly refuse to make high-end garments without fittings. This is where you shave off the extra 25-30 lbs a tailored garment will take off of a ready-to-wear garment and reduce ease for a slimmer and taller look. A shirt you buy in the store will have an extra 4-6 inches to it. A tailored suit will have only 1-2, but move just as well. I'm giving Robyn the master block I created for her so perhaps we will get to see some more skirts on her in the future. I love skirts...I really think that they are something that most women could make at home provided they got a patternmaker to draft the master for them. If you notice the back, I put in side vents to flatter her waist and help her move better. Alright, next up...working in real fabrics.